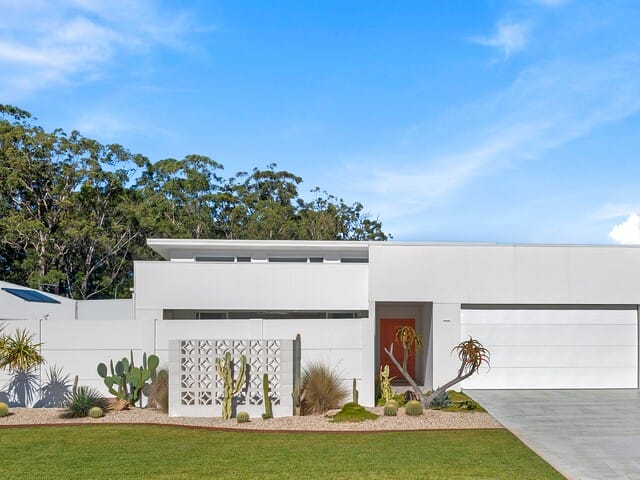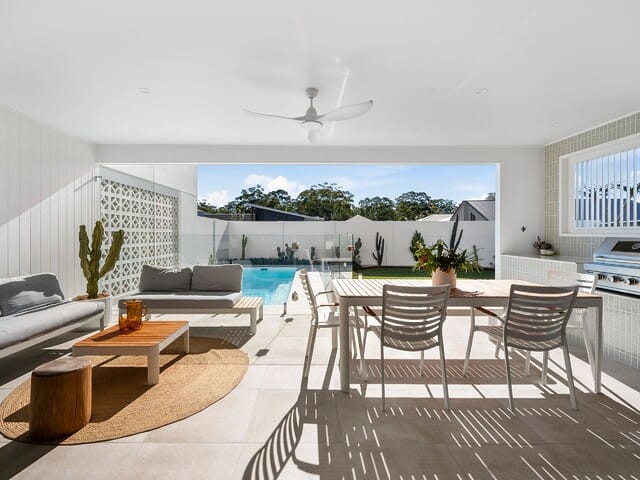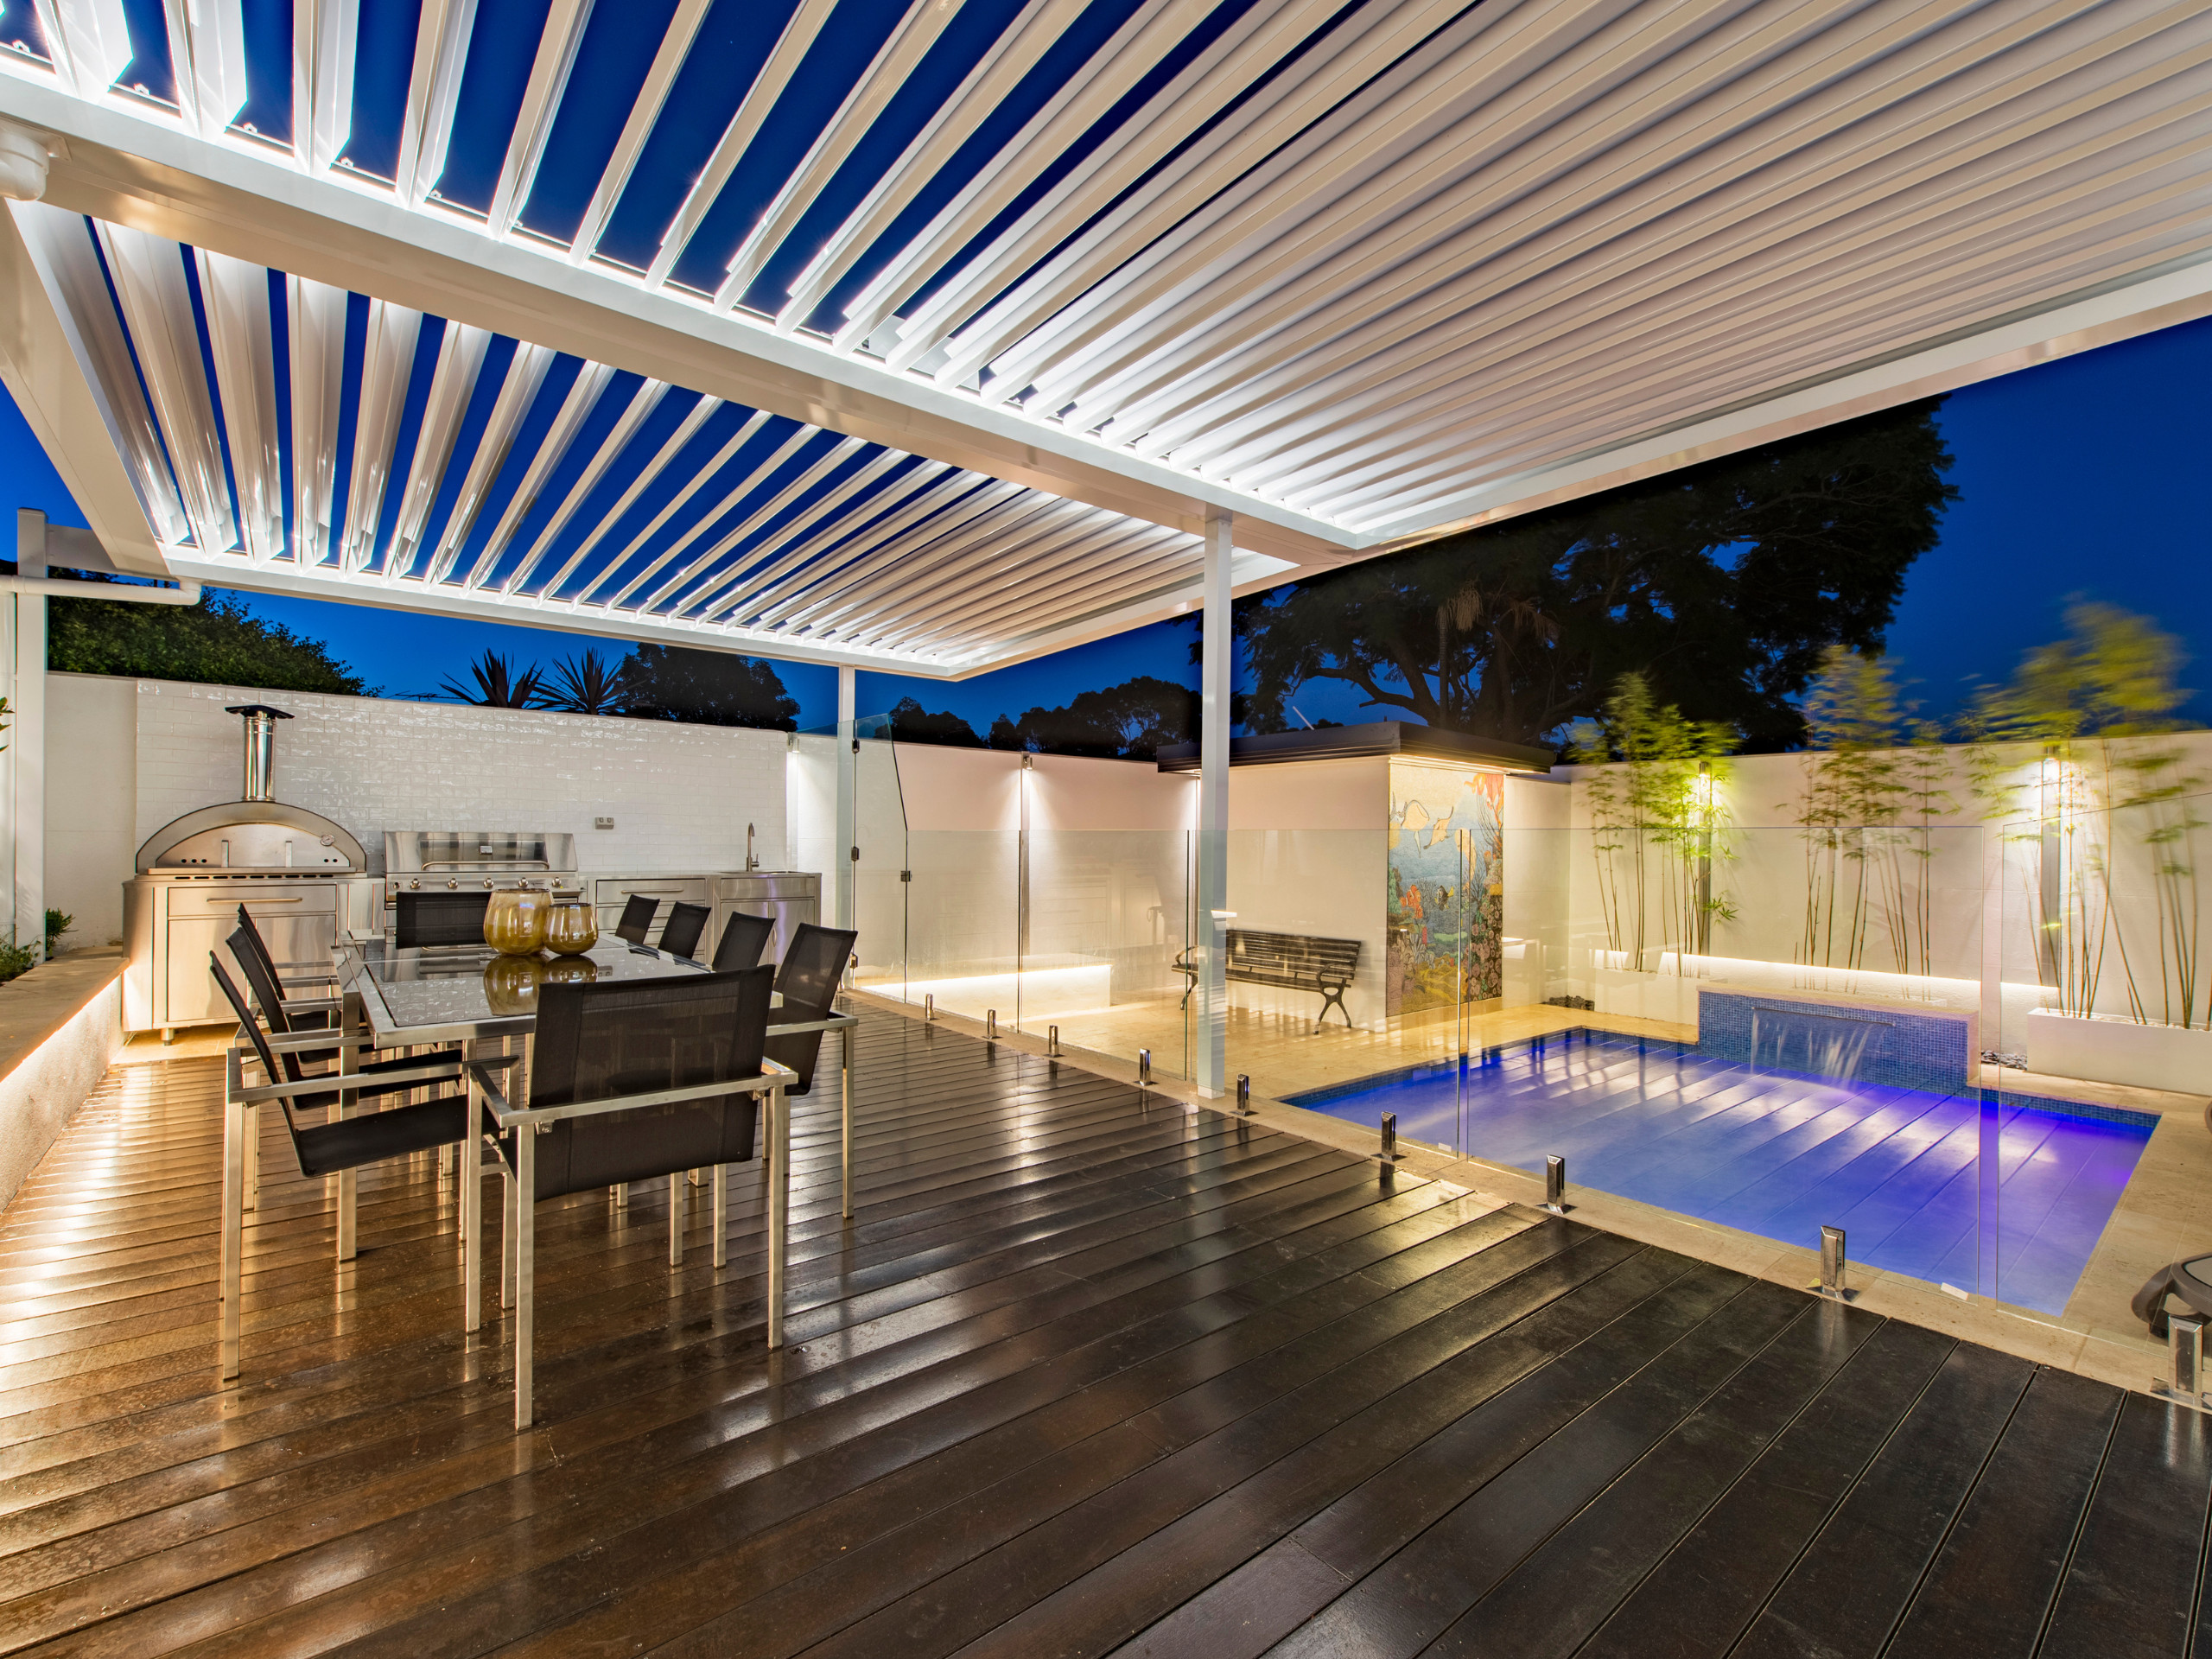
Entertain from dusk ’til dawn with integrated outdoor wall lights! Our wall panels have internal recesses to accept concealed cables for lighting, home entertainment systems, intercoms and more. So read on to find out how to light up your outdoor life today.
Q. What do I need to plan before installation?
Things that need to be planned out before the actual install include:
- Location of transformer; this is normally close to a power source
- Entry point of cable
- Height of lights along post
- How you’ll need to fix your light to the face of the post (and the subsequent recess you’ll need to make in the post)

Q. What tools will I need?
You’ll need the following tools handy, if installing lights within your modular fence:
- Tape measure
- Drill/driver
- Angle grinder
- Wire snips
Q. How do I install lights into my modular fence?
The basic installation stages of our modular walls are as follows:
- Dig holes
- Install posts
- Insert panels
- Finishing (including wall capping, post tops and chosen wall finishes)
If you’re adding lighting, you will have additional steps within the following stages:
- Install cable entry point after installing posts (Stage 2)
- Cut exit and entry slots for cables, and light fixture rebates, into the tops of posts in the middle of Stage 3, before installing top panel
- Install lights and cables at the end of Stage 3, in between the top wall panel and the capping and post tops (which will enclose cables)
Q. Can you walk me through the light installation, step by step?
Sure thing! You can download our detailed Lighting Installation Guide, or follow the below tutorial:
Step 1: Work out the entry point for your cable
After Stage 2 of your installation, once your posts have been installed and the concrete has dried, drill a hole in the post at the point the cable will enter. This could be below ground level, or if the cable is to enter the post at the start of a wall, then you can simply run the cable up the side of the post, behind where the End Post Infill will be installed.
After the cable is installed, be sure to seal up any holes with an exterior grade silicone.
This is also the step where you decide the suitable location for the 12 volt transformer; normally close to the power source.
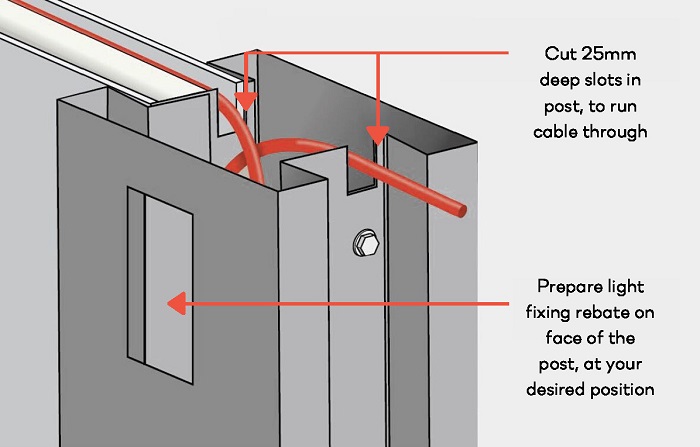
Step 2: Prepare your posts
Before installing the top panel in Stage 3 of the modular fence installation, you’ll need to prepare the tops of your posts.
Cut the necessary exit and entry slots for the cable in your posts, as well as the recesses where your lighting fixtures will sit. Use a measuring tape to ensure the light fixtures sit at the same height from the top, to ensure a level finish.
Once the posts are prepared, install the top panels.
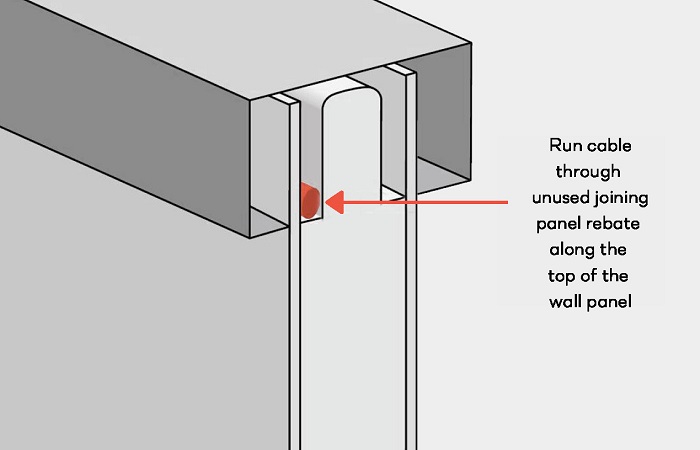
Step 3: Running the cable
Once the top panels are in, you can run then the cables through the entry point, post slots and light fixture recesses.
The suggested method is to loop the cable inside the posts and run it along the top of the panel (under the wall capping) to the next post. Our panels are designed to have internal rebates along the top and bottom for joining profiles; this ensure that they can be securely stacked. However, top panels do not need these joining profiles; so, when installing lights, you use this unused recess at the top of the panel to run the cable from one post to another.
If more room is required for larger cables, you may remove a small amount of the polystyrene from the top of the panel for a larger recess.
As pictured, run the cable up the post and loop inside consecutive posts. Give yourself a decent size loop to make connecting to the light fitting easier; you should be able to pull the cable to the outside of the post to work on the connection.
Continue this process in accordance with the number of lights you are installing.
Step 4: Fixing the lights
Follow the lighting manufacturer’s recommendations for the electrical connection and fixing of the lights. When mounting the lighting to the post, be sure to apply a waterproof sealant, so water can’t leak into to the back of the light once installed.
Once your lights are fixed (and tested!), you can move on to installing the end post infills, wall capping and post tops, and finish as desired!
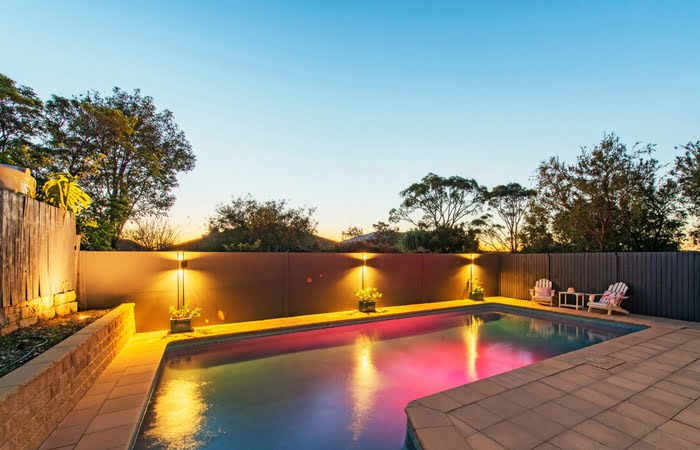
Q. Which outdoor lights can I integrate into a modular fence?
Any regular outdoor light can be integrated into our modular walls and fences, as long as you follow the lighting manufacturer’s recommendations for the electrical connection and fixing of the lights. We do recommend choosing low voltage options, as well as ensuring they’re exterior-grade wall lights, for optimum weather durability; but there is still a vast range of beautiful outdoor wall light options that rival indoor lighting!
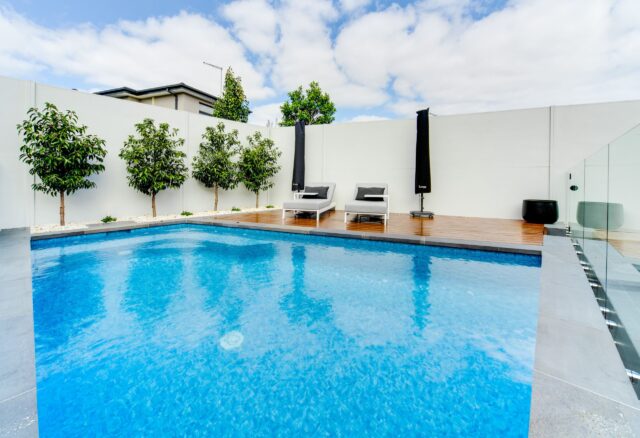
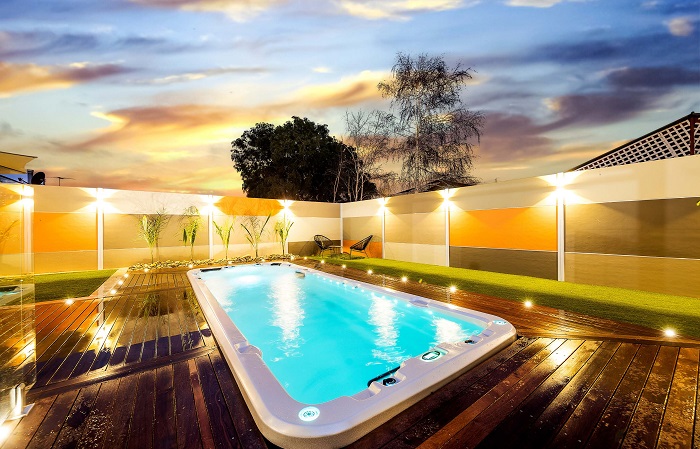
Furthermore, if the lights are being installed in a pool boundary, we suggest recessed wall lights, to avoid the light fixture affecting non-climbable zones and pool compliance regulations.
Q. Do ModularWalls supply lights?
With so many outdoor lights already on the market, we let you decide exactly which style you want. This gives you the ultimate freedom when creating the perfect ambience for your outdoor oasis!
The design is in the detail. Explore our vast range of finishing tips to find out how to install slats, gates, integrate retaining panels and more!