Homeowners are increasingly taking matters into their own hands, saving on labour costs and drastically cutting their overall project expenses by installing a DIY fence.
So, if you’re looking for a new wall or fence, our modular fence and wall systems are specifically designed for the DIY customer with a keen eye for style. Keep reading to discover how to install a DIY fence in four steps!
Installation is fast and easy, and you won’t need any heavy machinery, specialist trades, or waste your whole weekend on strip footings. In fact, you can erect your new DIY fence in a single weekend, with the entire process explained in four simple steps:
- Dig post holes
- Concrete the posts in place
- Insert the panels and capping
- Finish as desired.
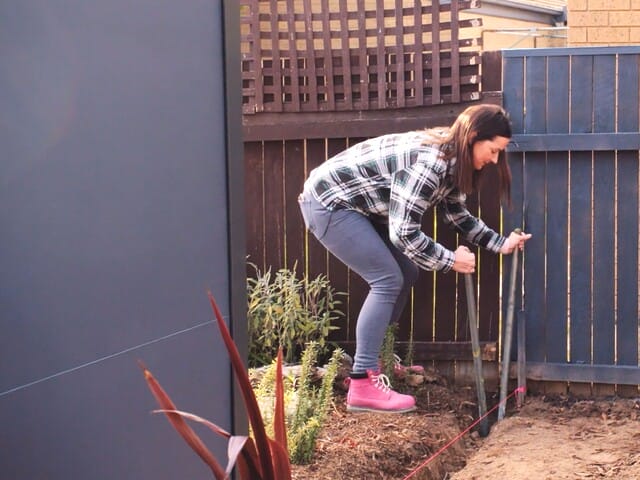
1. Dig post holes; the first step to install your DIY fence
- Measure out your site simply by using a tape measure, some string and pegs, sticks or even chopsticks!
- Place your first peg (or stick) where your first post will go, with the stick representing the post centre.
- Measure the appropriate spaces between post centres, marking all post centre placements with pegs.
- Wind your string around each peg, ensuring that you create a straight line; this will later act as a guide to ensure your wall is straight.
- Finally, using a post hole digger, dig the holes where each post will sit, moving the peg or stick just in front of the hole but still in line with the post centre.
How deep should I dig my post holes?
- Typically, the depth of the hole is 1/3 of the overall height. So for a 1.8m high wall or fence, you’ll need to dig post holes at 600mm depths.
- However, this can change for certain wind regions or sites with sandy soil. If this applies to you, let your ModularWalls consultant know, and they can advise accordingly.
- The width of the hole should also allow for 50mm of concrete around each side of the post.

2. Concrete the posts in; an important step to determine where the panels will sit
To prepare for this stage of your DIY fence, have one person attach the brackets to the inner groove of the posts, determining where the panels will sit. It is best to fasten the brackets before installing the posts, so you can ensure exact measurements from the top of the post and create an even wall height.
- Flush capping: the brackets should be fastened around 3mm more than the total panel height. So, if the total height of your panels is 1800mm (1.8m), your brackets should be fastened at 1803mm.
- External capping: allow 23mm more than the total panel height. Therefore, if the total height of your panels is 1800mm (1.8m), your brackets should be fastened at 1823mm.
The other person can then prepare your concrete as per the instructions on the package. Avoid throwing a ‘rapid set’ bag down a hole and adding water in situ. Preferably, mix the concrete in a wheelbarrow before pouring down the hole, as this will achieve greater concrete strength.

Different concrete mixes will set at different times; see the concrete manufacturer’s instructions for more details. Smaller jobs using rapid set concrete may even allow the panel installation on the same day. However, the best practice is to let it cure overnight, where possible, so this might be a good time to hang up the work gloves for the day.
Once the concrete has set, use your spirit level to double-check none of the posts have shifted angles before inserting your panels.

3. Insert panels; your DIY fence is taking shape
Now your wall or fence is really going to take shape!
First, place the capping channel onto the bottom of your first panel. Next, with two sets of hands, slide the panel down through the post until it rests against the brackets. If you have multiple panels, place a joining strip between each panel. Once all the panels are in, you can install the top wall capping, followed by the post tops.

4. Finish your DIY Modular Wall or Fence
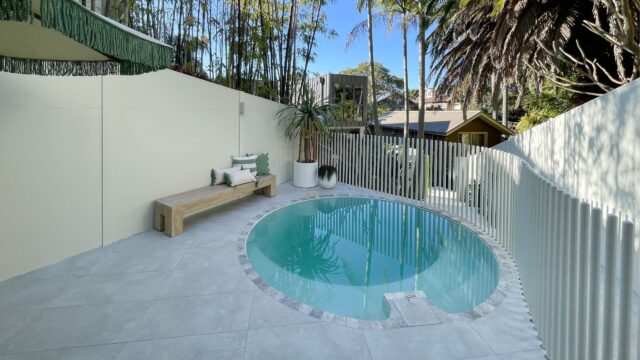
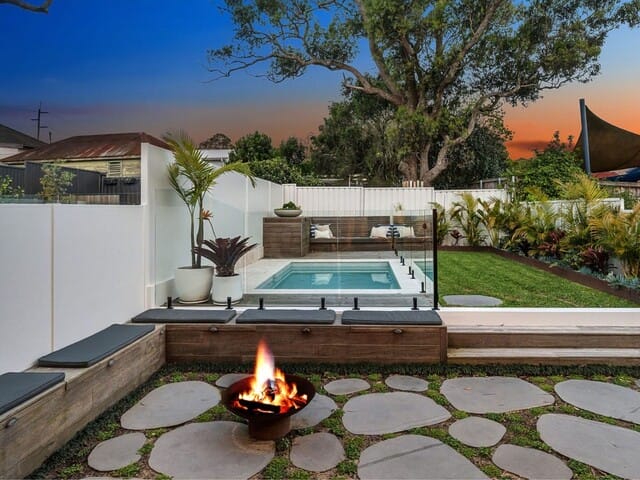
The beauty of our walls is that they accommodate a vast range of stylish wall finishes. Everything from tiling and cladding to a simple paint job, you can personalise your wall to best complement your home and individual style. The cementitious sheeting finish gives it a natural rendered aesthetic, or you can embellish it further with a textured render.
For a more detailed rundown of options and the processes of each, check out our top 5 most popular wall finishes for ModularWalls. Or take creative inspiration from these textured feature wall ideas. For warranty reasons, we recommend that you complete your DIY Modular Wall within 30 days of installation.

And there you have it — you’ve just built a brand new DIY fence or wall with your own two hands in a single weekend! All you have to do now is admire your beautiful new outdoor space and tell all your visitors about your impressive DIY success.