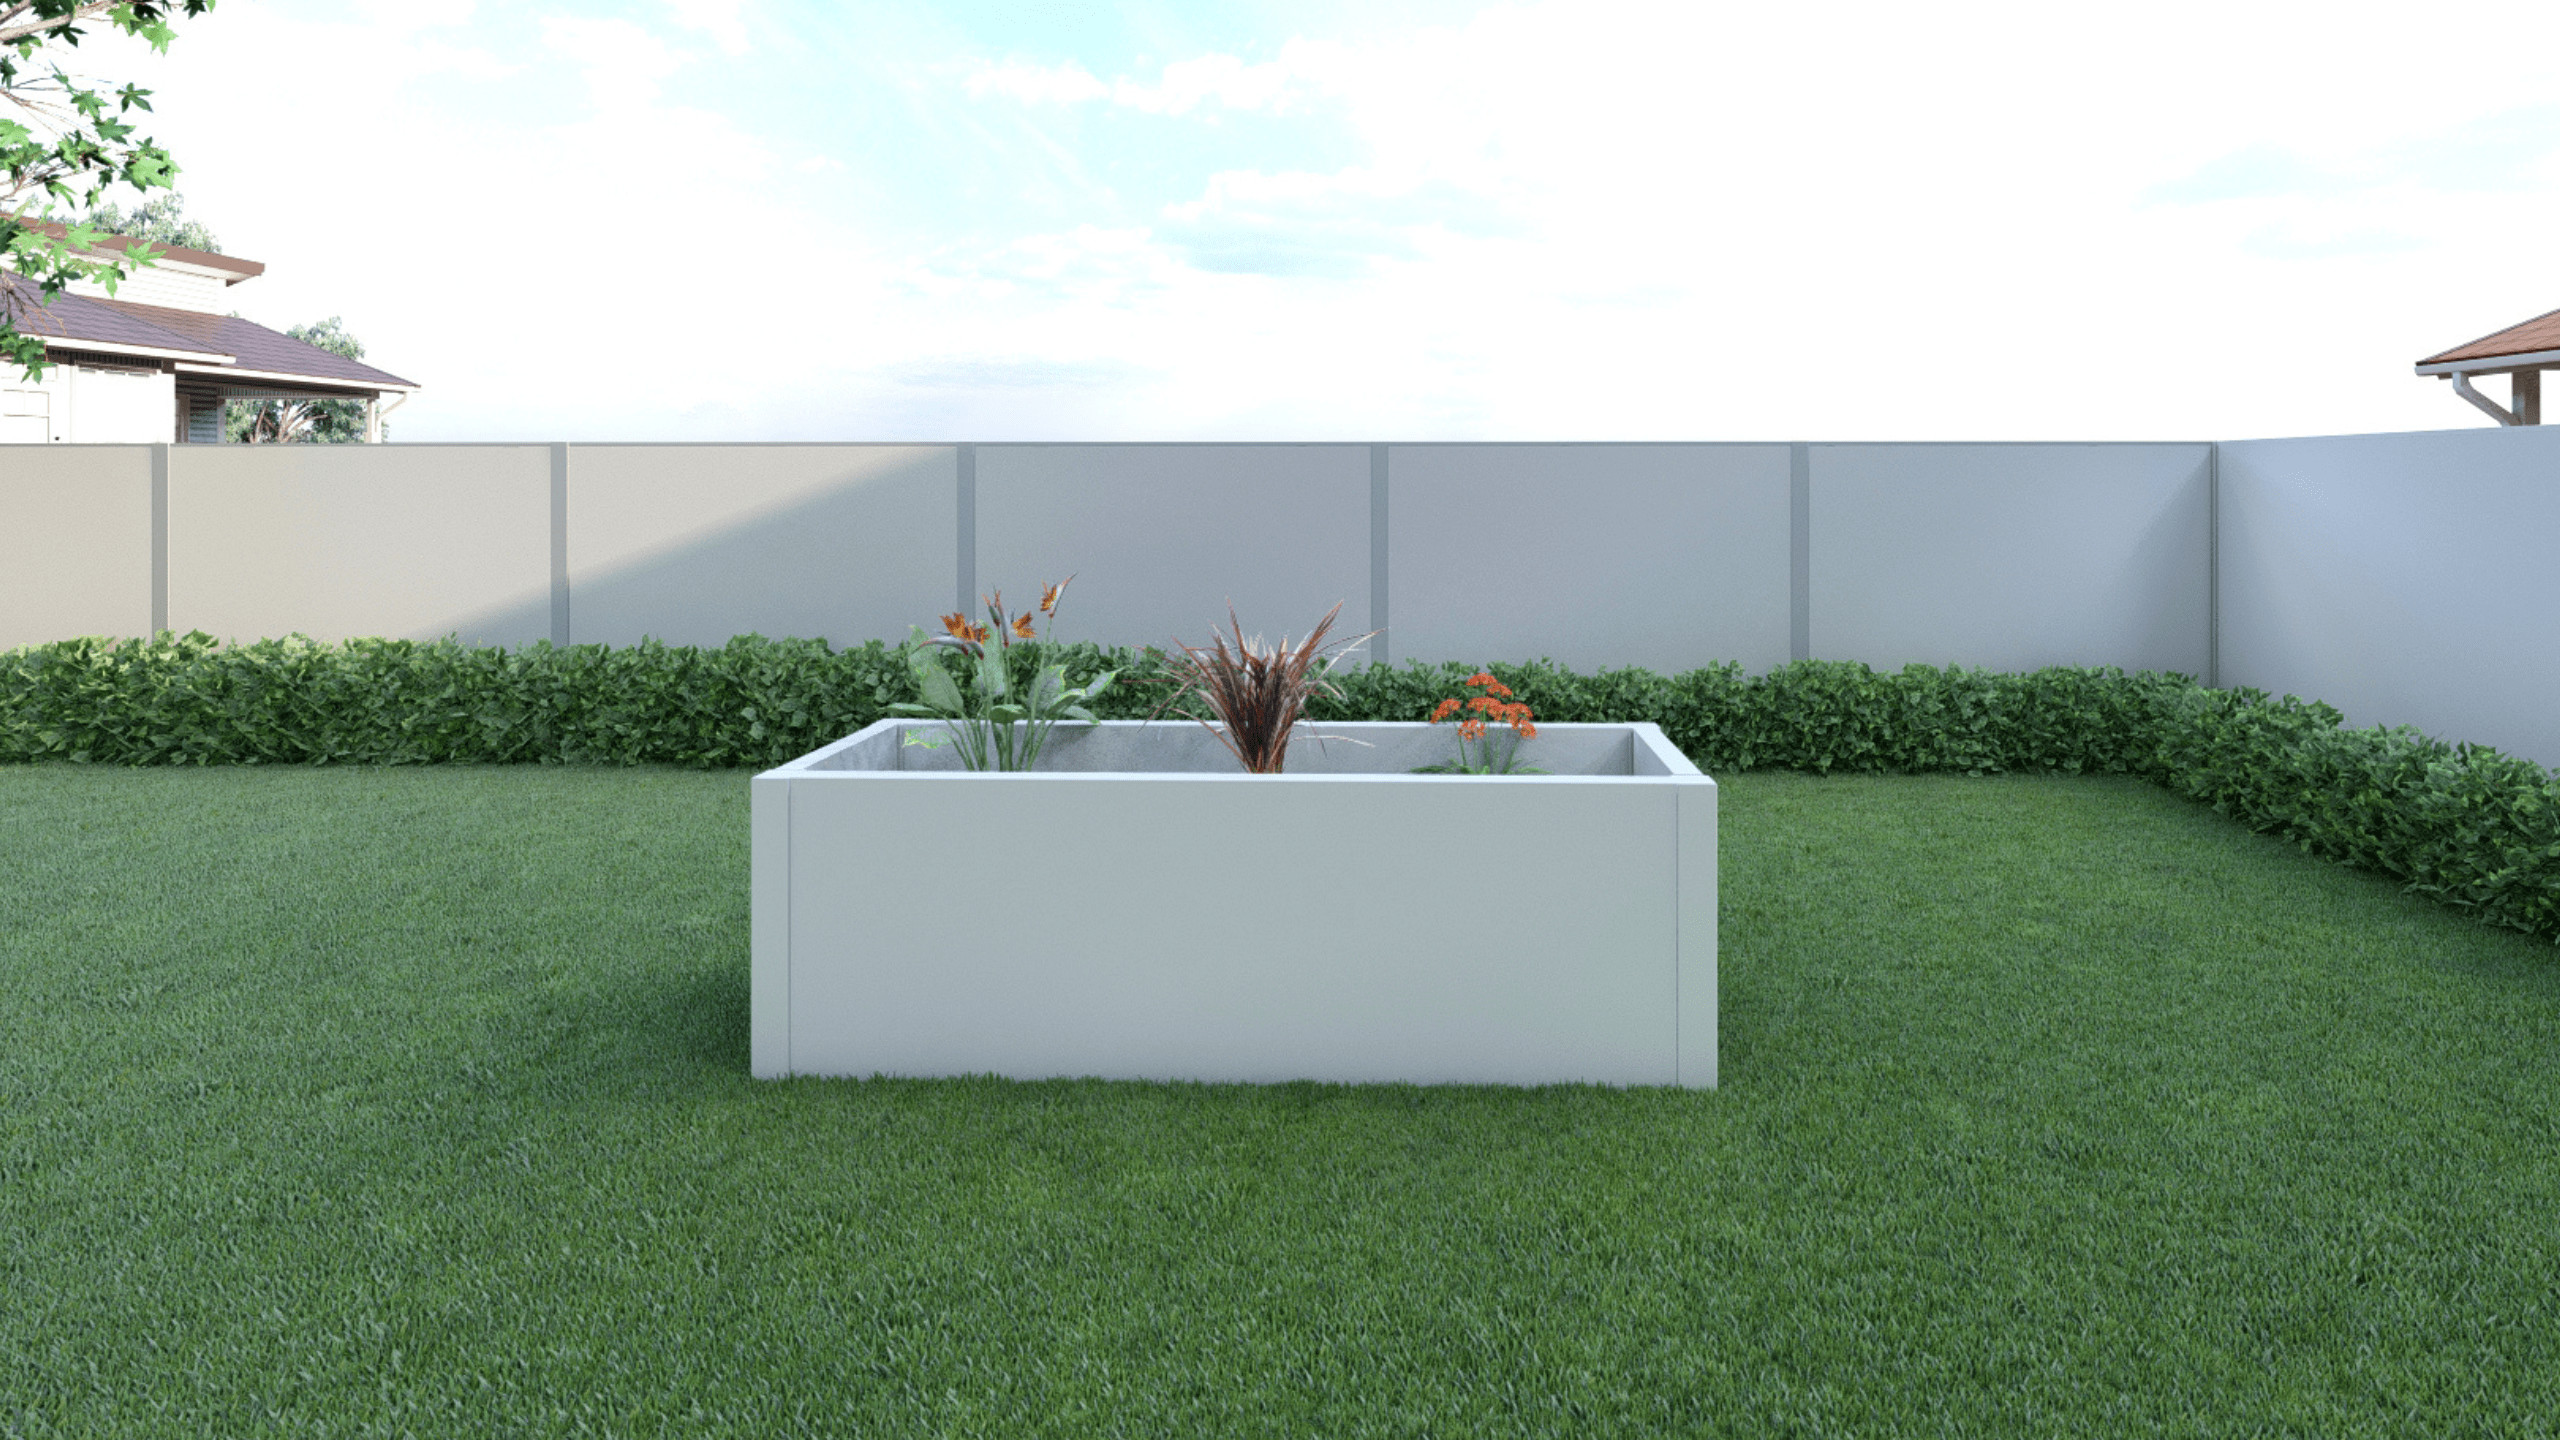
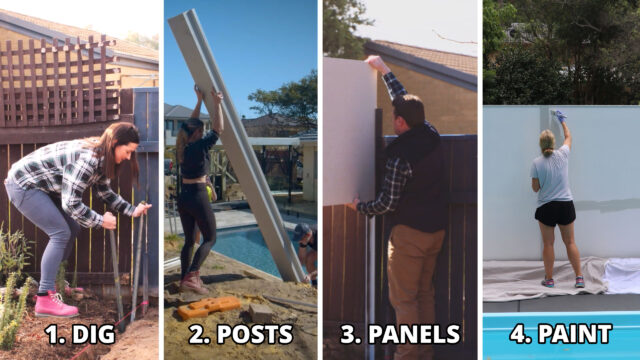
Building on our ‘5 Step how to guide for a backyard vegetable patch,‘ we wanted to show you how easy it is to make a DIY raised garden bed with ModularWalls. The benefit of a ModularWalls raised garden bed is that you can customise it to match a ModularWalls boundary wall or fence. Either match the paint colour for a coordinated finish that gives a cohesive and complementary look and feel. Or choose a contrasting colour for a bit of wow factor. Whichever finishing style you choose, your ModularWalls DIY raised garden bed will have a sophisticated finish compared to treated pine, for example.
Preparation is key; gather your equipment, so you have everything on hand. For this example, we are using the ModularWalls TrendWall system with our TerraFirm75 retaining panels.
Here is the list of what you’ll need:
- Ag pipe (agricultural pipe)
- Backfill material
- Cordless drill
- Posthole digger
- Post cement
- PVC pipe
- Shovel
- Spirit level
- Topsoil
- Waterproof paint /paintbrush
- Vegetable seeds/ seedlings
ModularWalls supplied materials:
- Bottom capping channels
- TEK screws
- TerraFirm75 retaining panels
- Top capping channels
- TrendWall posts
- TrendWall installation guide
Begin your DIY raised garden bed

Posts
Firstly, choose a good position on flat ground for your DIY raised garden bed, and then mark out your hole posts and begin digging.
- Post hole depths for TerraFirm75 panels 600mm high = Post hole depths depend on the soil type; please refer to the installation guide for more information.
- Post spacing – Maximum centre-to-centre post spacing = 2450mm.
- Footing Diameter – Minimum footing diameter = 250mm
Note: our TerraFirm75 retaining panels specifications are:
- Composite reinforced TerraFirm75 Retaining Panel
- Size: 2400mm (L) x 600mm (H) x 75mm (W)
- Weight: 22.9kg
Secondly, using bagged builders concrete mix available at Bunnings, gradually pour in the mixed concrete to secure the posts in place. (NB: use your spirit level to ensure the posts are straight and level)
Spacing Corner Posts
Following these steps, remember your DIY raised garden bed will have four corner posts. To create your corner posts, install the 90° profiles over the face of the mid-post for the new run. Then insert a post infill over the exposed recess of the corner post – as per the TrendWall installation guide.
Note: Once assembled, secure the profiles to each other with the TEK screws supplied.
Brackets
Next, attach the panel support brackets to the posts using the screws supplied. You can slide the bracket down from the top. The measurement from the top of the post to the top of your bracket should be your final wall height plus 5mm. The base channel should enter the post by at least 5-6mm from the postface on each side. Then add the bottom capping channels – as per the Trend Wall Installation guide. Don’t forget to do a quick check to ensure your posts are level and straight.
Panels
Firstly, apply the ‘FLEXIT’ adhesive or similar to the inside of the base channel. This adhesive will connect with the panels once in place.
- Then with one person at either end, lift the panel vertically and insert it into the top rebates of the post.
- Next, carefully press the panel down onto the base channel making sure you have not caught any of the fibre cement edges on the lip of the base channel. Then ensure it is fully seated against the panel.
Waterproofing
Seal the inside of your DIY raised garden bed panels (and posts) with a waterproof membrane such as Bitumen paint. Ensure it’s suitable for fibre cement substrates.
The following waterproofing steps apply to any wall section that is to be buried by backfill material.
- Using a commercial-grade polyurethane sealant (e.g. FLEXIT), seal the junction between the posts and panels full length at the rear of the wall.
- Apply a commercial grade waterproof sealer to the posts and panels. (Use any commercial waterproof sealer or bituminous product suitable for cementitious substrates.) ModularWalls uses and recommends SikaTite BE, which is available from most hardware stores.
- Coat posts on their rear face as well as the support bracket and base channel.
You can also use a layer of plastic sheeting to line the back of the wall to provide an extra membrane and to protect the bitumen coating during backfilling. Heavy Duty Builders Plastic (200um thick), for example, is suitable.
Top Capping Channel
Once the panels are in place, it’s time to add the top capping channel. First, as mentioned previously, you need to apply FLEXIT or something similar to the inside of the chapping channel. Then, place the capping channel on top of the panel.
Note: With a correctly spaced post, the capping channel will not need trimming to length. It will fit inside the post at either end by approximately 5mm – 7mm from the face of the post.
Post Tops
As you have four corners on your DIY raised garden bed, you will need four 90° post tops. Then, making sure your panel is either level or slightly below the top of the post, position the aluminium post cap and fix it down with the supplied screws.
Your DIY raised garden bed is nearly complete
Backfill (drainage gravel)
You are well on your way to completing your DIY raised garden bed! Now grab your drainage gravel and apply a thin layer of gravel (approx. 50mm). Save the rest; you will need it again soon.
Drainage Pipes – Agricultural Pipe (Ag pipe) and PVC pipe
Firstly, ensure you have enough 65mm slotted ag pipe to form a figure-eight towards the centre base of your DIY raised garden bed. Plus, when placing the ag pipe in the bottom of the garden bed, ensure it has adequate drainage to the exterior of the garden bed panels.
Secondly, attach the PVC pipe vertically to the ag pipe. The PVC pipe opening will be positioned just under the topsoil.
Note: A retaining wall without adequate drainage will act as a dam that can damage the wall. Inadequate drainage applies to running water that is both above and below the ground surface. Also, directing the ag pipe through the wall panel for draining is not recommended. However, it’s possible if there is no other draining method available.

Backfill
Next, add another layer of drainage gravel on top of the ag pipe. (approx. 300mm)
Note: Don’t compact the drainage gravel.
Topsoil
The next step is adding the topsoil. Ensure you purchase topsoil suitable for your plants or vegetables as there are different grades! It’s always best to check with your local Bunnings or nursery. Alternatively, suppose you’re feeling confident to do it yourself. In that case, you might like to try this recommendation for raised garden bed soil layering. Next, add approximately 400mm of topsoil, so there is enough soil for the plants to take and grow.
Painting
You’re on the home stretch now. Next is painting the exterior panels and posts of your DIY raised garden bed. As mentioned previously, you can complement your existing ModularWalls or go for a contrasting colour. Alternatively, you can customise with tiles or even stone cladding. If painting, we recommend Dulux Weathershield (or a similar self-priming acrylic paint), which come in a vast range of colours.
Planting your DIY raised garden bed
Now the fun part! If you have a family, get the kids involved, they love seeing something grow, and it’s a great learning experience too. We recommend speaking to your local nursery for recommendations on plants, herbs or flowers that will grow best for your climate. As mentioned previously, don’t forget to read our planting tips in the blog, ‘5 Step how to guide for a backyard vegetable patch,‘
Lastly, whether you choose herbs, vegetables or flowers, your raised garden bed will look fantastic with a modern finish. Now sit back and enjoy watching your garden grow. It will be overflowing with life in no time so that you can enjoy the spoils of your efforts.


