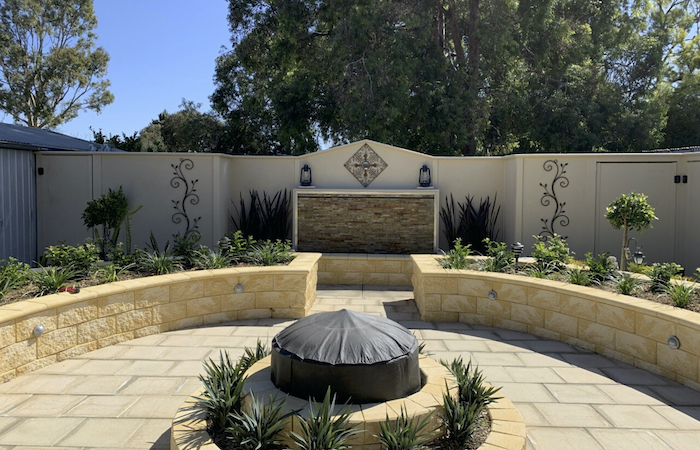
Some see a blank wall…others see a blank canvas. We were blown away by the sophistication and creativity of this DIY feature fence in South Australia, using our premium SlimWall modular fencing. We were lucky enough to speak to Val Farrugia about his DIY installation experience and his stunning courtyard transformation!
Q. So, first of all, why did you need a new fence?
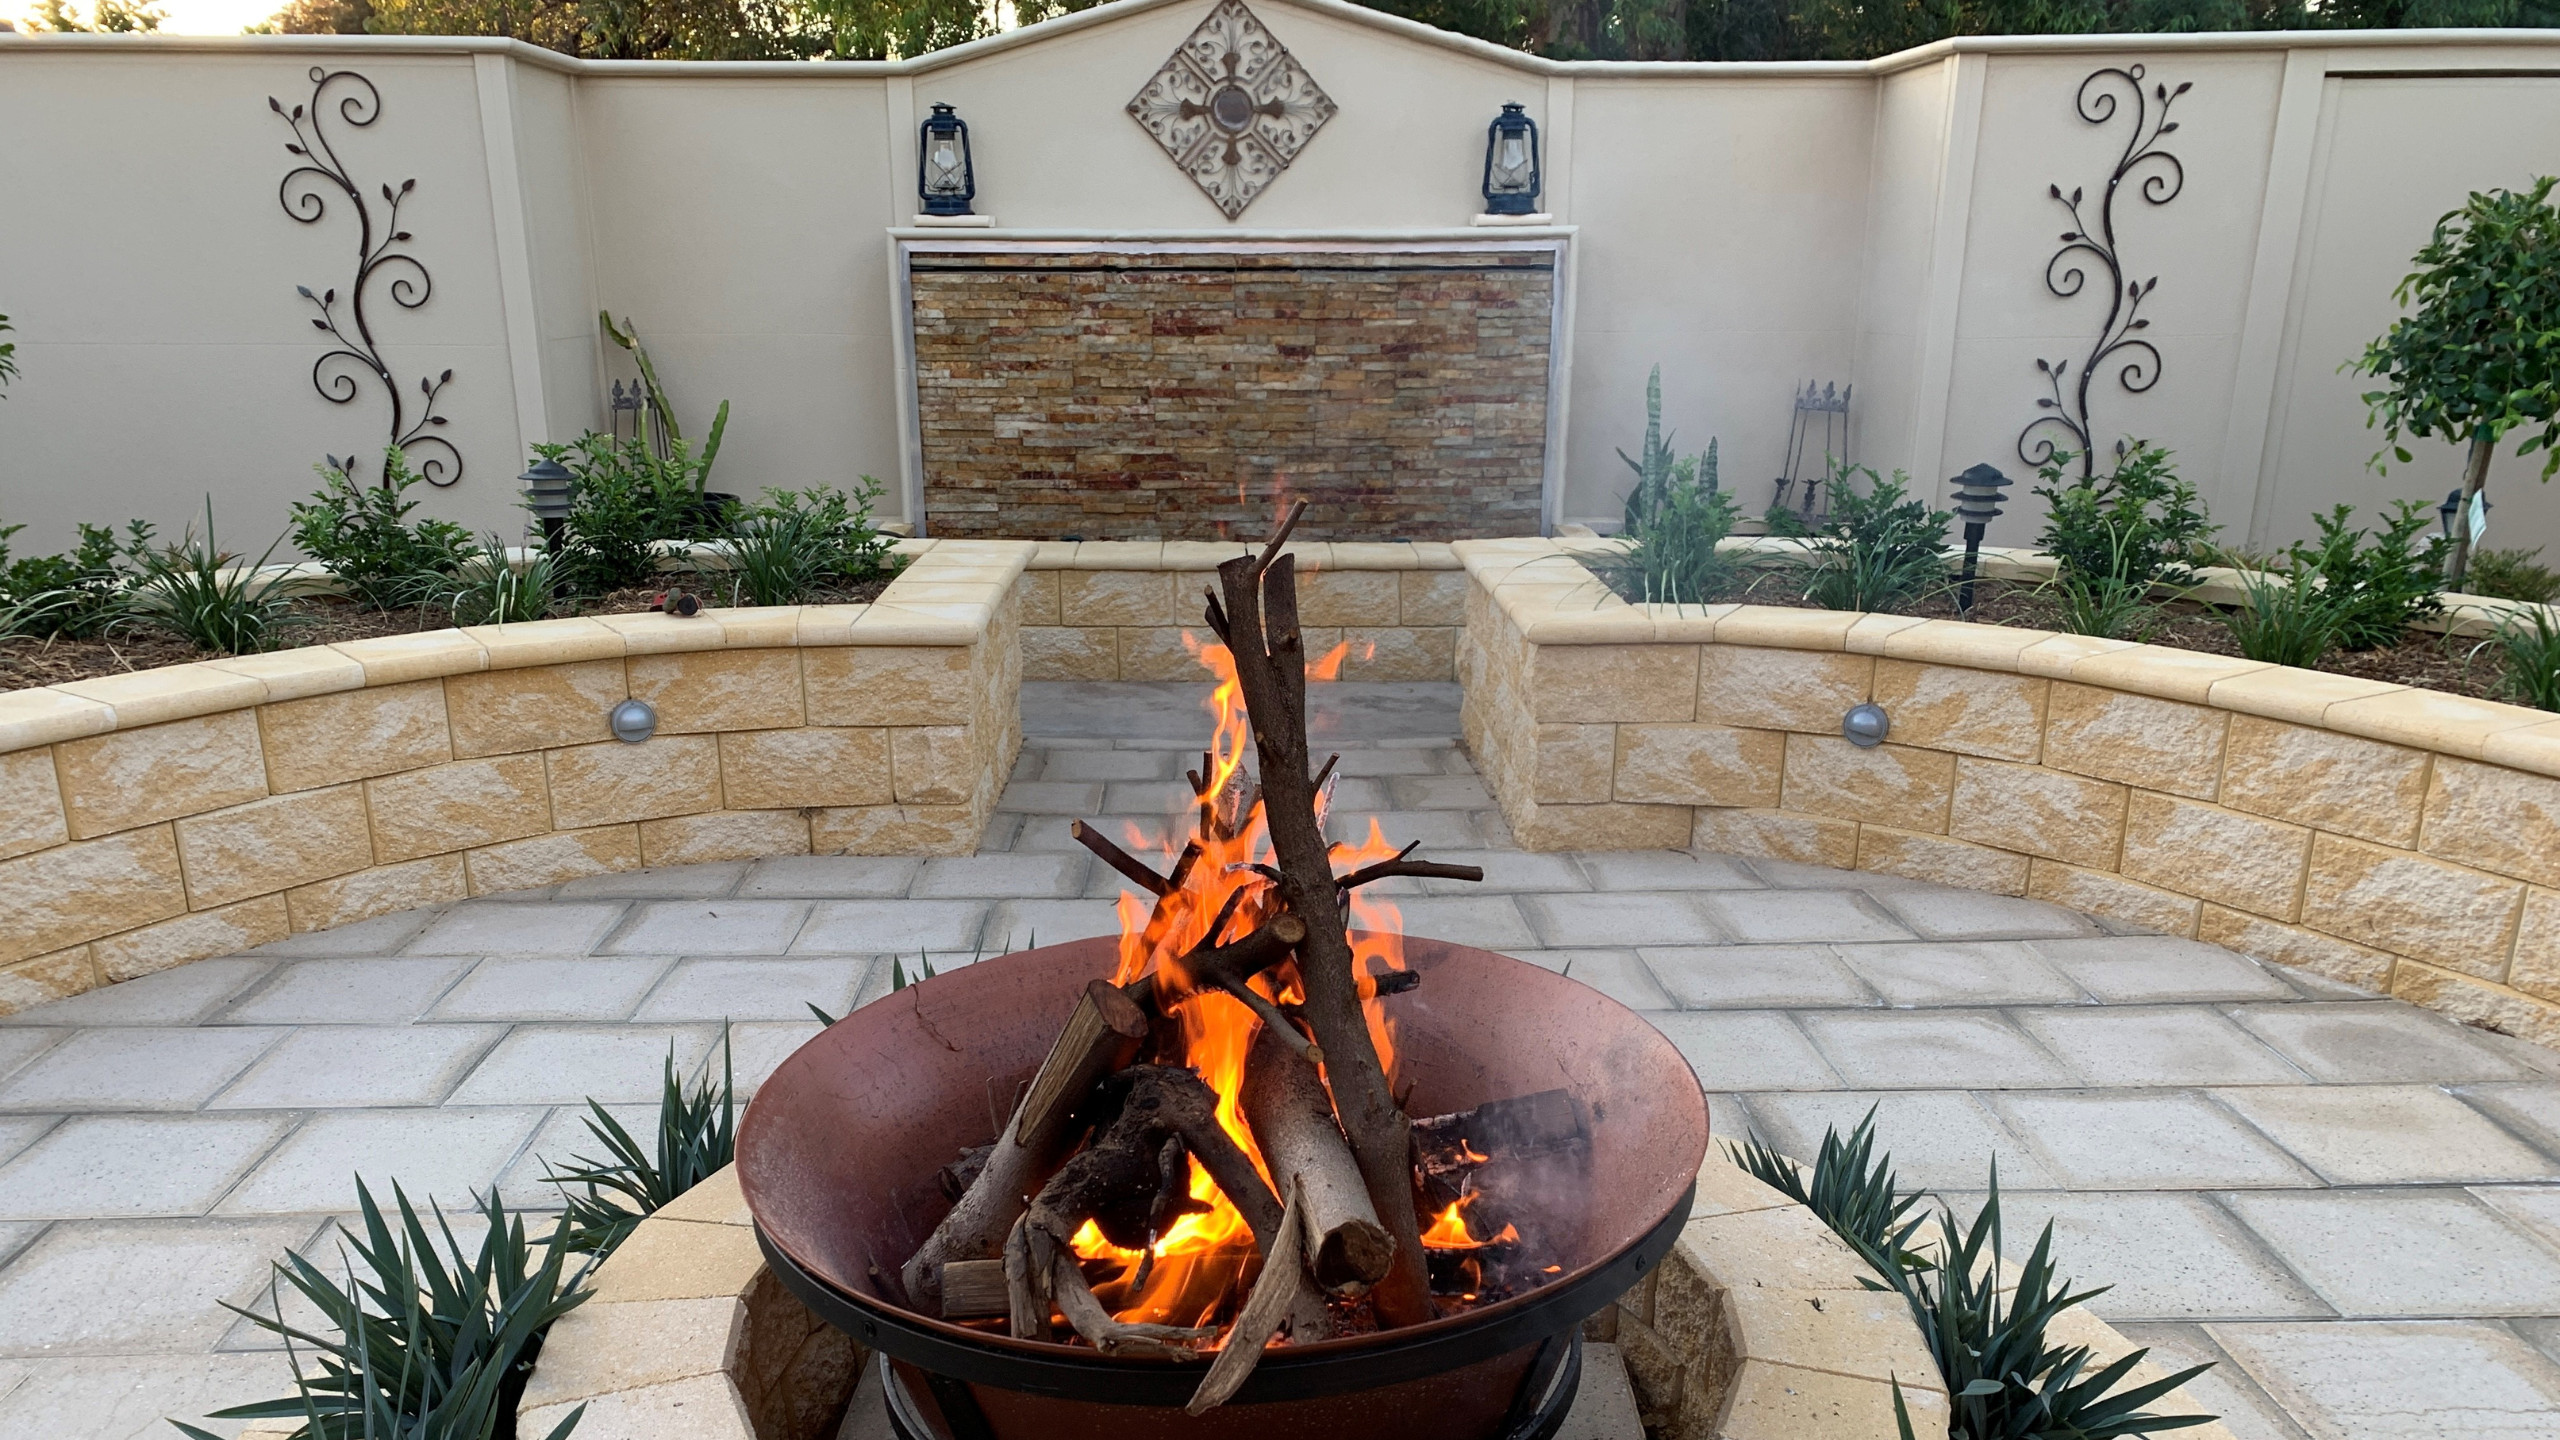
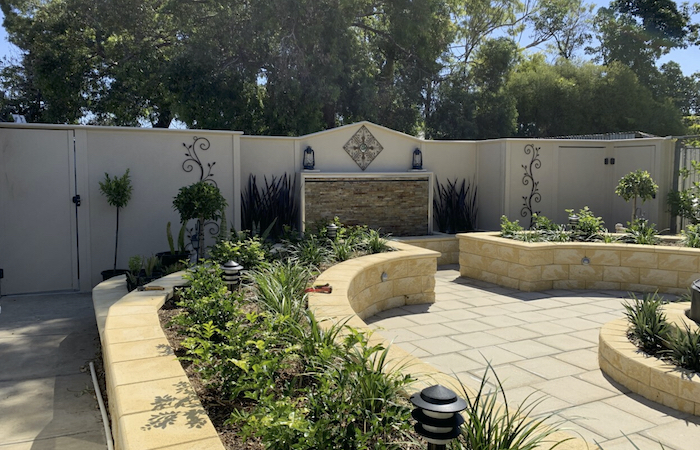
Val: We made a decision to update our backyard and create a place to relax and enjoy the greenery, with the sound of water trickling down a wall. We were keen on creating a water feature in our back garden, but needed something that would allow us to hide the plumbing, electrical and irrigation.
We also have a large backyard and wanted to create a utility area that was hidden from view, but still practical; the rear 4m of our property is where I wanted to keep our chooks and use for potting plants.
Q: And what were the most important factors for you, when deciding on which product to use?
Val: As I generally like to do these projects on my own and in my own time, I needed to find a product that was easy to construct from a DIY perspective. When I looked into ModularWalls, it was very easy to construct, sturdy and very versatile.
Q: Were there any challenges you had to overcome with this project?
Val: My biggest challenge was budget; we couldn’t afford to bring tradesmen in, because this usually doubles the cost.

Q: What guided you to choose ModularWalls over other wall/fencing products?
Val: The ModularWalls system was complete; everything I needed was included. From doors, hinges, locks, posts, screws, brackets, panels and adhesives, it was all there!
Q. Why did you choose SlimWall over the other wall styles?
Val: As this was a screen that separated our yard, it was the perfect choice.
I needed a product that I could create niches as a feature fence, I needed doors to allow entry into the utility area and the shed (that we also concealed) and I needed something that was 2m high; SlimWall allowed for all of this.
Q. And how did you find the DIY installation experience?
Val: The installation was one of the easiest DIY jobs I have done.
Once you measure out the distance between posts, you simply concrete the posts in, cut the panels with a circular saw (if needed), insert the bottom panel, the top panel and the capping. You then just keep going for each section! I’m married with 2 daughters, and my girls helped me lift the panels into the posts.
The installation guides and brochures also made the installation process easy to understand.
Q. How did you finish your feature fence (including that gorgeous custom capping!)?
Val: I used a Dulux acrylic texture and then painted it in a Paperbark colour, to achieve the stone look.
The capping was an afterthought; I wanted something that was rounded (or bullnose). I fixed angled beams between each post (from the rear) and then placed the capping on top.
Q. Are you happy with the final result?
Val: We are really happy with the final result! The SlimWall allowed us to create a feature in our backyard that was affordable, practical and easy to install.
Q. How did you find working with the ModularWalls team?
Val: I live in Adelaide, so I didn’t have the opportunity to do any face-to-face, but, it didn’t matter.
I sent Brad, my sales consultant, a hand-drawn sketch of what I wanted and he came back to me with a professionally drawn design. We went back and forth with changes until we landed on the final look. Brad was then able to quote the final solution, we paid and it got delivered!

Q. Would you recommend ModularWalls and their products to other DIYers?
Val: I would recommend ModularWalls to anyone; I had a couple of questions after delivery and Brad was always there to help. Since building my SlimWall, I’ve noticed more and more ModularWalls products around. Some of them are quite elegant!
If you’re trying to decide if you should use a Modular Wall for a home project, have a look at the different wall styles and have a go. It’s very easy, if you have very basic DIY skills.
