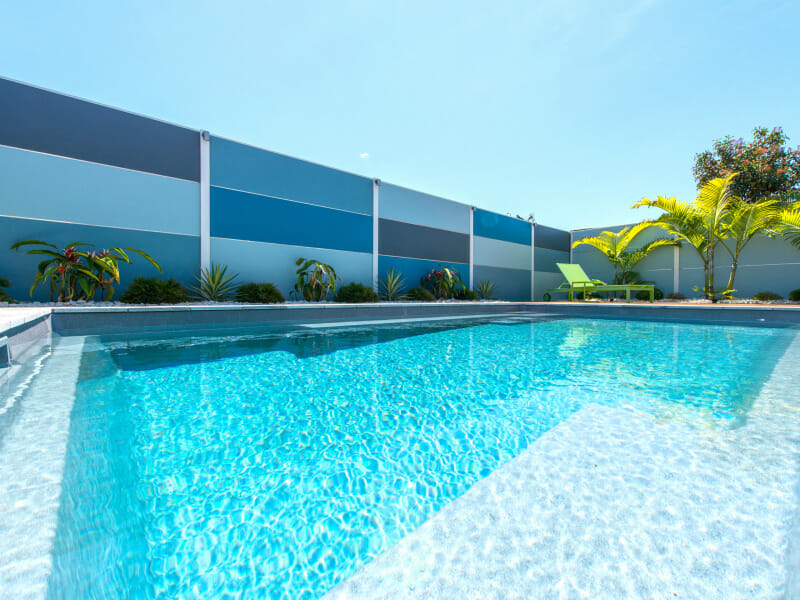
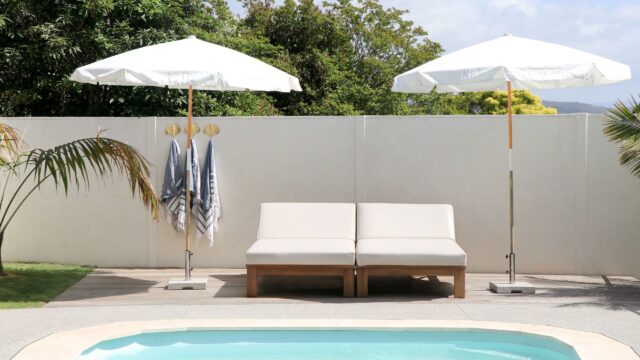
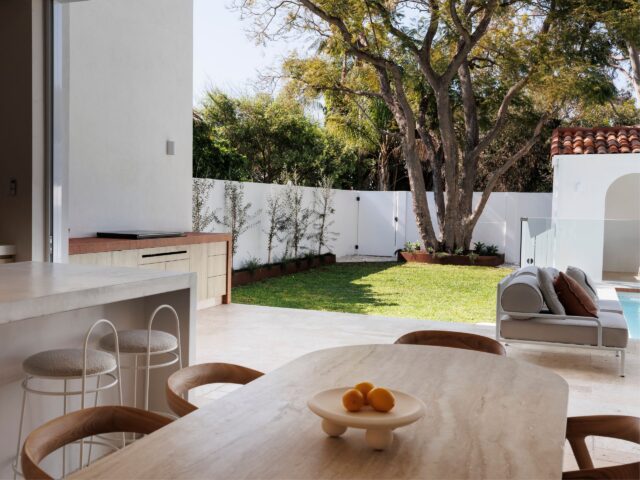
After months of hard work, Peter Dawson unveiled his stunning new outdoor transformation. The new backyard design boasted a new pool, gorgeous decking and a DIY SlimWall. The designer fence was customised with Expressed Joint features, integrated lighting and a dynamic colour scheme for a truly unique backdrop.
We were lucky enough to speak with Peter about his striking backyard design and how he found using our DIY SlimWall system.

Q. So how much of the backyard renovation did you handle yourself?
Peter: I did everything except install the pool. I come from a building background and my wife is a qualified Interior Designer/Decorator and Colour Consultant (Dawson Designs); she’s the brains and I’m the brawn, if you like?
Q. What were the most important factors for you when deciding on which product to use?
Peter: The solution had to be able to achieve my wish, which was to give the whole backyard and pool area privacy and consistency, but also had to achieve my wife’s wishes – look good! We also had limited access to area, so the idea of large fence footings wasn’t suitable.

Q. What guided you to choose SlimWall over other wall or fencing products?
Peter: The overall look. We wanted a lightweight, manageable system, but it still needed to have the look we desired.
We chose SlimWall because of its low profile, and we wanted the Expressed Joint feature. Our existing fencing was still in OK condition, but was very inconsistent in heights; we were looking at the back of all our neighbours’ fence extensions/bamboo/sheds, which was ugly for us.
We also didn’t want to have to go and approach 4 different neighbours and talk them into replacing their fencing, so we installed it within 100mm of our boundaries. SlimWall was an ideal choice, with its 50mm thickness!
Q. How did SlimWall enhance your backyard design?
Peter: Realistically, once I found your product, we designed the whole backyard around it!
Before we found the SlimWall solution, we were lost in how to achieve the look we wanted, without removing all fencing and then installing either rendered concrete walls or similar heavy, engineered solutions.
The ability for us to be able to undertake all components of installing the SlimWall ourselves was a huge benefit — physically and logistically, as the wall was installed over many stages.

Q. How did you find the DIY installation experience?
Peter: Our whole backyard project took 3 months, with the SlimWall done in stages – all up, though, we could have installed it all in a week. To get the look we wanted with the different coloured panels, we needed to paint each modular section separately, front and back, before installation — this is where a lot of time was used up.
We used a quality, low sheen paint (Taubmans Endure) with a medium range nap roller on the front face. On the back, we used a neutral coloured gloss finish, so rain can clean it off easily, as we can’t get to it.
I pre-wired the 12v AC down lights before we put the post tops and capping channels on, which was very easy to duct through posts. We also left the aluminium Expressed Joints unpainted, to highlight the individual panels, and also to match the down lights.
Q. Are you happy with the final backyard design?
Peter: Yes, very happy! My favourite element was the ease of DIY installation, while my wife is over the moon with being able to make a statement with what is normally a boring backdrop.
Great product! Great result!
Make a statement with a backdrop that’s customised to your unique personal style.


