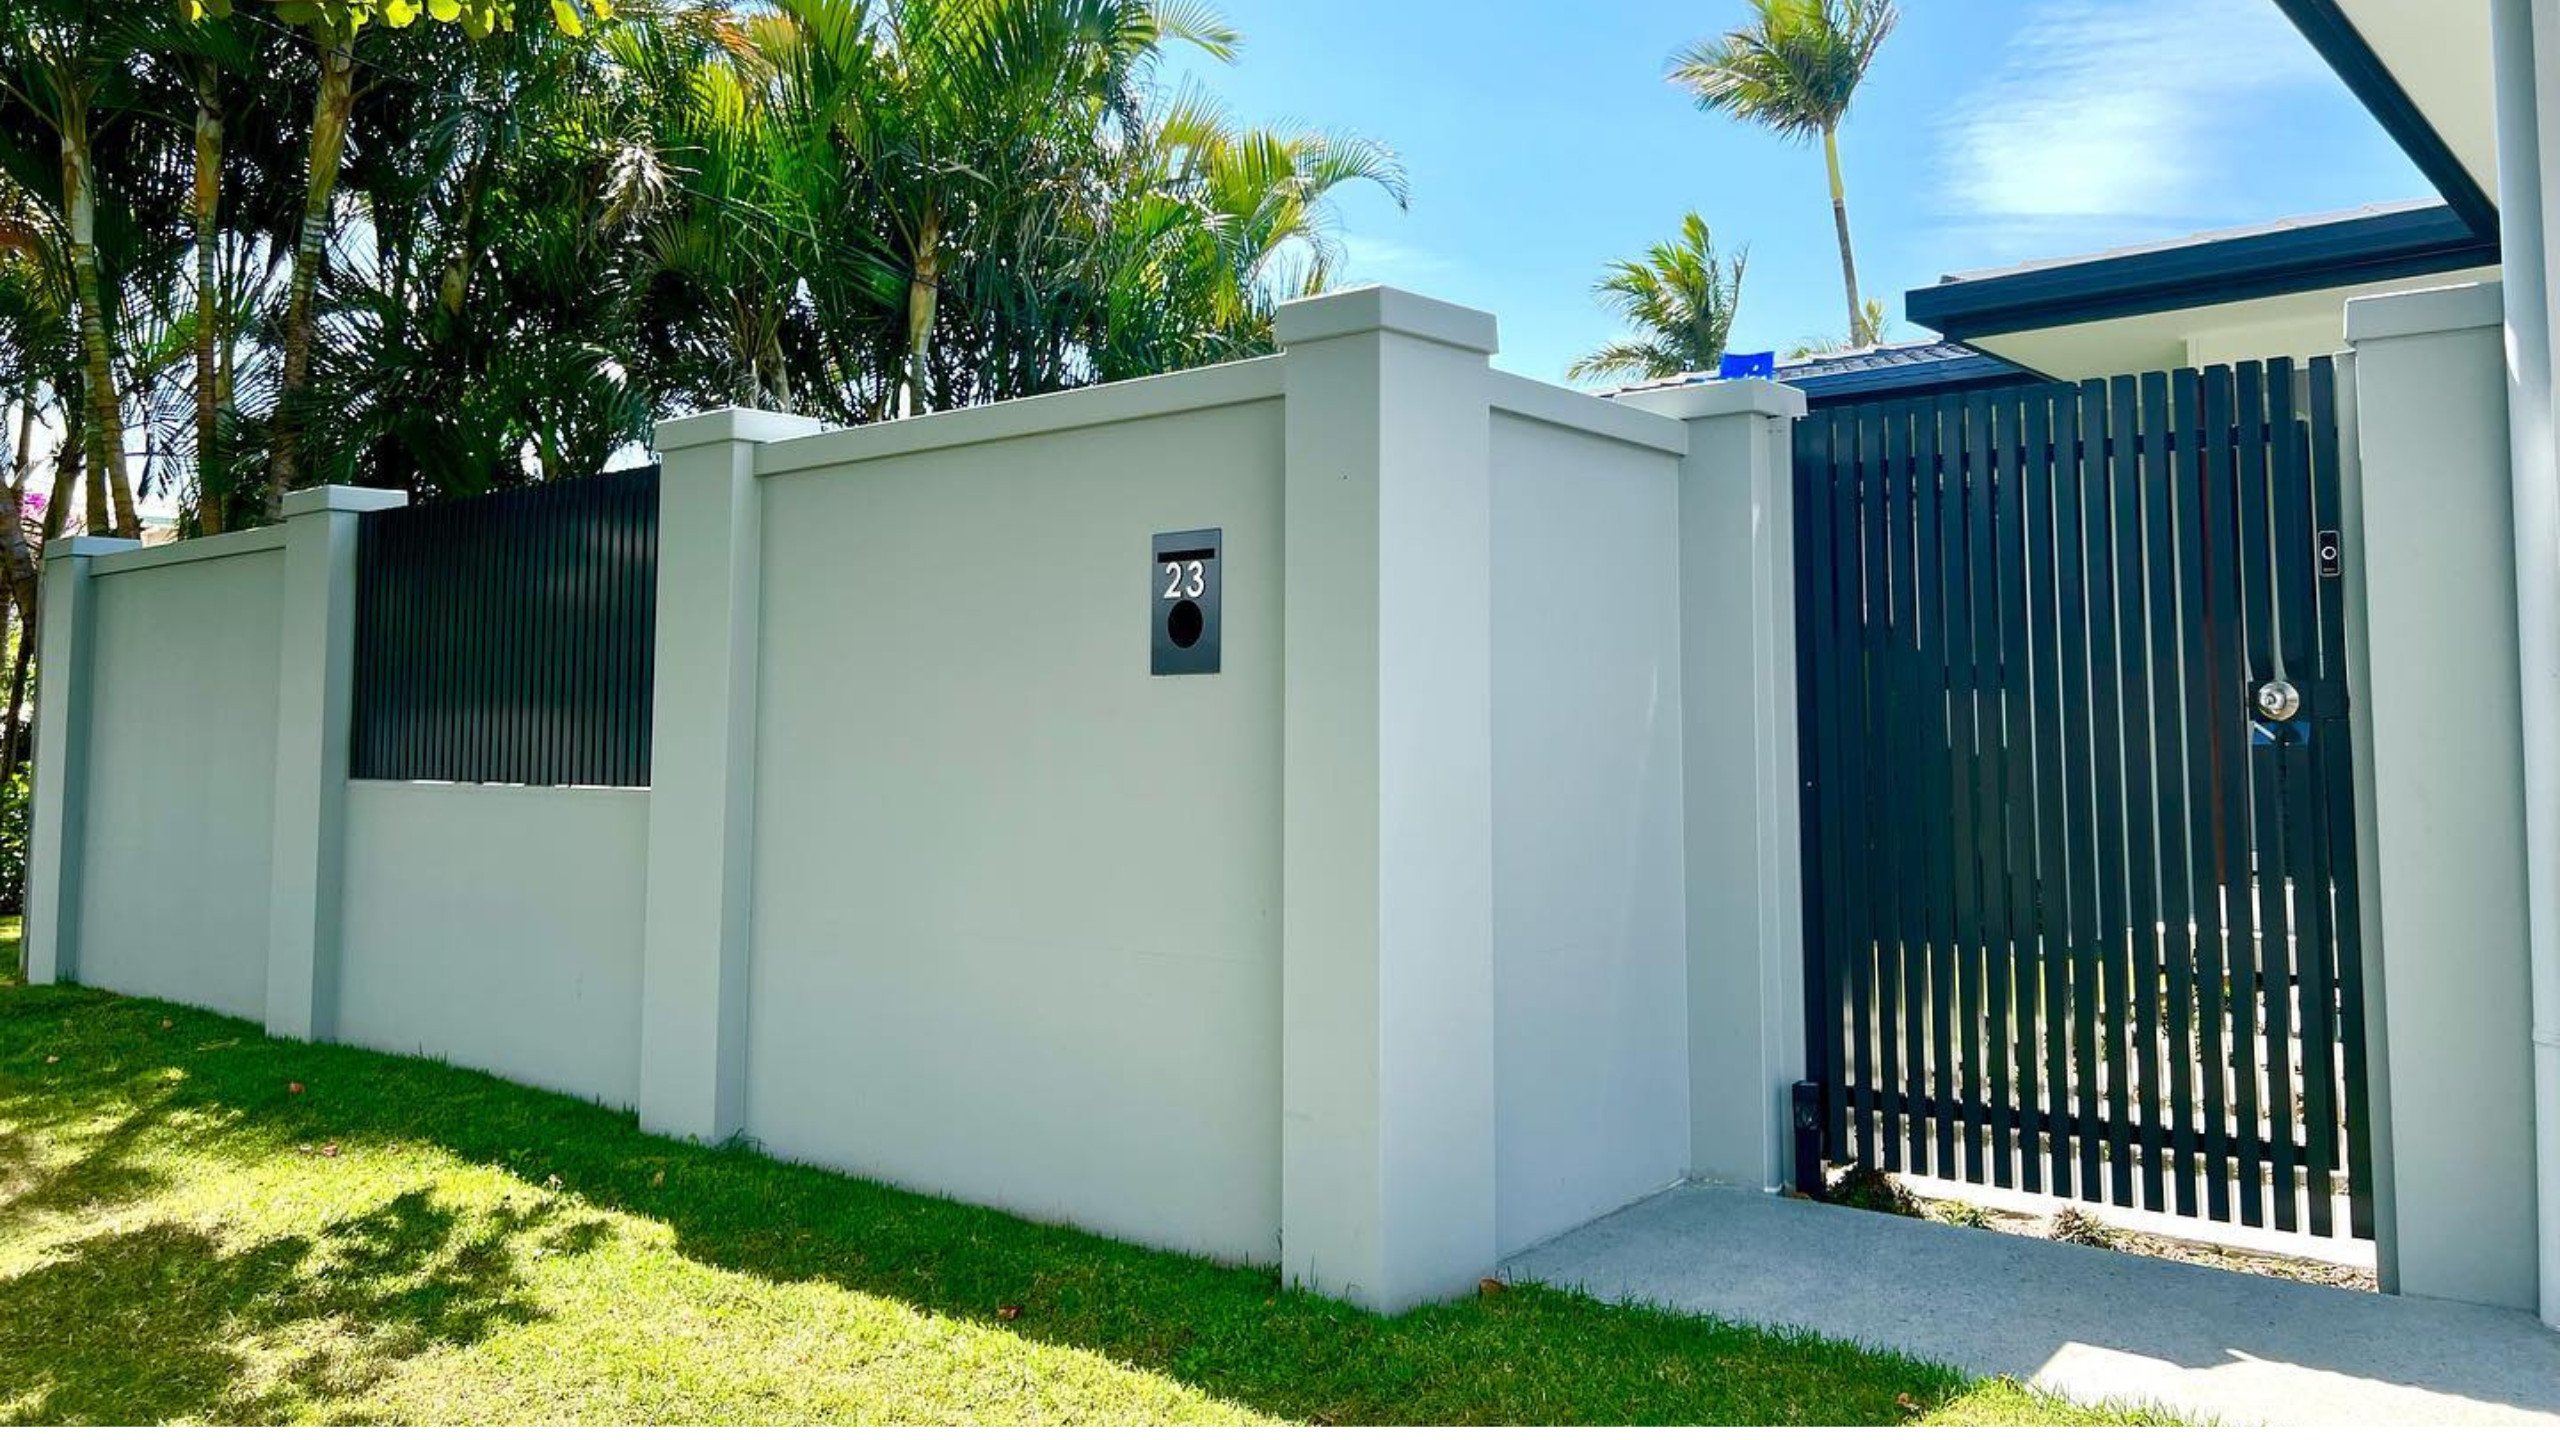
This DIY idea focuses on the perfect addition to a front wall or fence; the humble letterbox! Read on to find out how to install a letterbox into ModularWalls.
Choosing the right letterbox
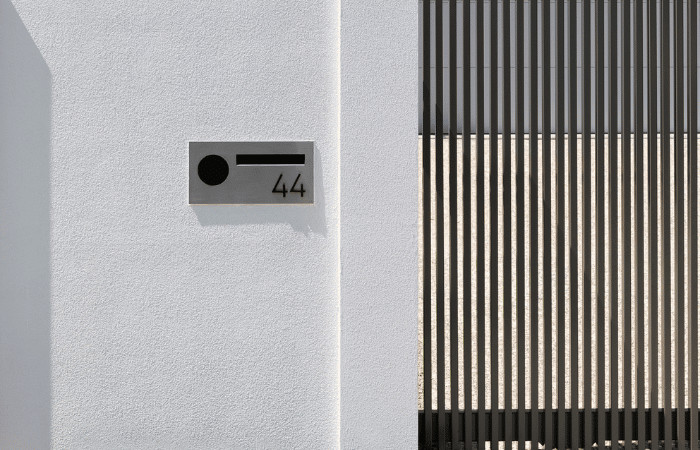
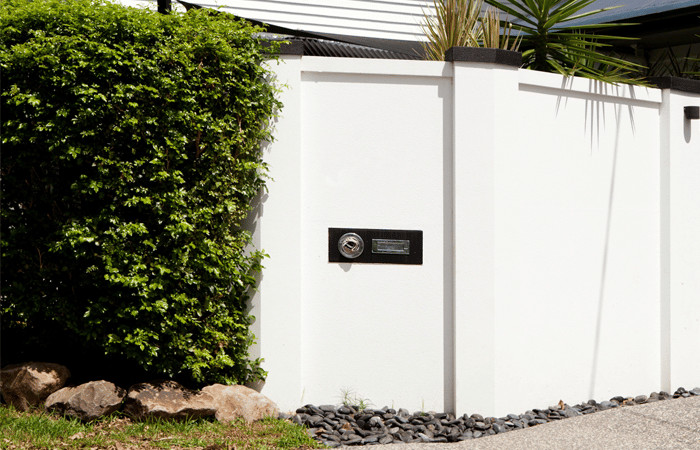
Our wall systems accept an extensive range of letterboxes; you can order a ModularWalls ‘Modbox’ letterbox (pictured below) or source one on your own.
The ModularWalls letterbox includes a genuine 304 brushed stainless steel front. At the same time, the back is galvanised and powder-coated to withstand whatever the elements throw at it.
However, if sourcing your own, be sure you’re buying one with durable, high-quality materials. As an outdoor product, it needs to stand the test of time.
Install a letterbox into the post
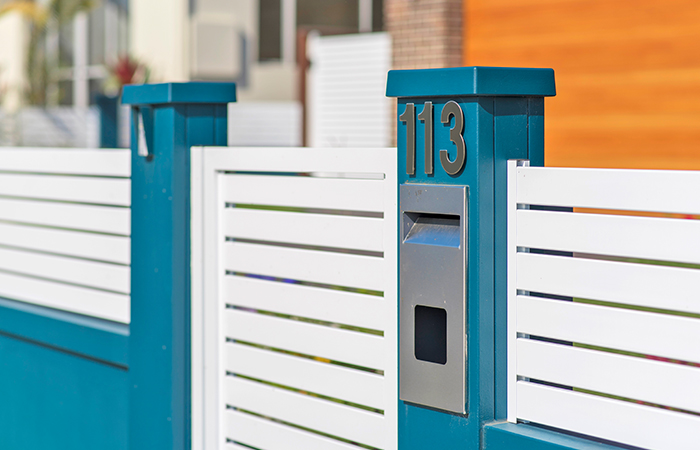
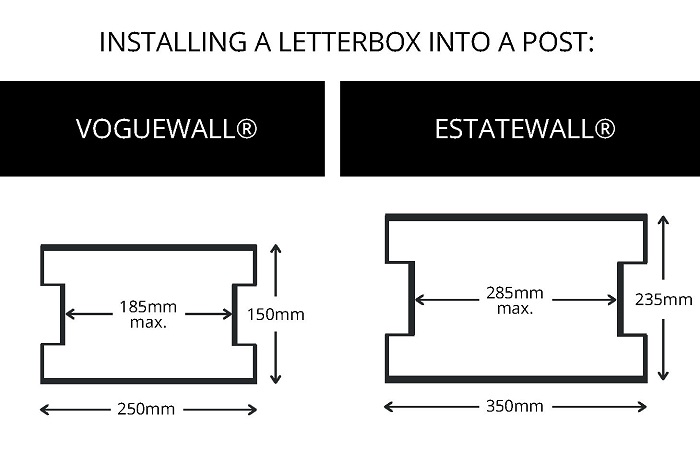
If you’re installing an EstateWall or VogueWall, these wall styles can easily accept a letterbox within their robust post dimensions.
Tools you’ll need to install a letterbox:
- Tape measure
- Builder’s Square
- Pencil
- Masking tape
- Angle grinder with 1mm metal cutting blade
- Caulking gun with polyurethane sealant (i.e. FLEXIT or Sikaflex PRO)
- Broom/mop (optional: drying prop)
Step 1: Mark out the position on the post
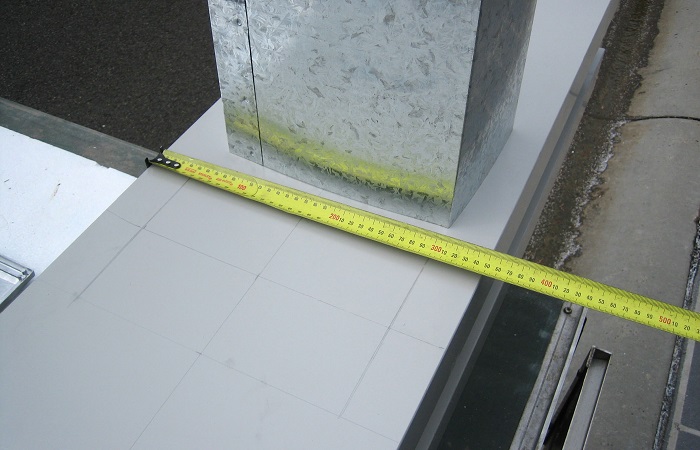
Measure the height you wish your letterbox to be and mark out the hole size to cut. Always allow your hole to be a few millimetres larger than the letterbox. Being too tight will only cause alignment issues and possible paint-scuffing when slipping the letterbox into place.
If you’re unsure of the correct height your letterbox needs to be, call your local post office for their regulations or walk up your street and measure your fellow neighbours!
Step 2: Cutting the hole
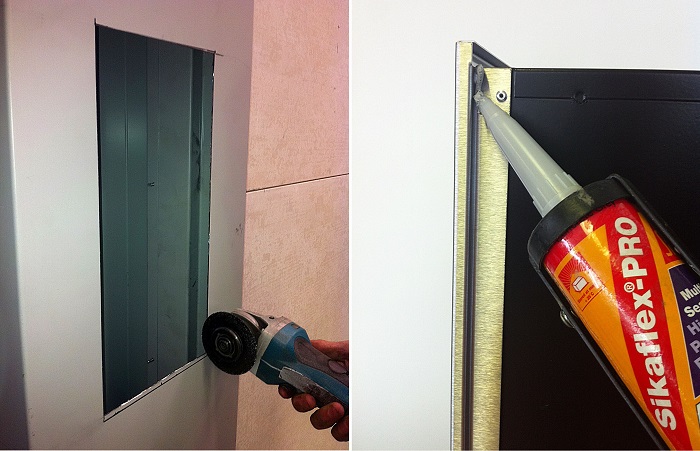
Using appropriate guards and personal protective equipment, take an angle grinder with a 1mm metal cutting blade and cut out the hole for the letterbox.
Next, you must test fit the letterbox. Firstly, remove all sharp edges made by cutting. If the rear housing of your letterbox is painted or powder-coated, further protect it from possible scratching with masking tape (or similar). When test fitting, you should be able to get it in with minimal resistance. If it doesn’t fit, don’t push it!
Step 3: Securing the letterbox in place
Most letterboxes will have a larger ‘face’ flange at the front. Apply a bead of polyurethane sealant (i.e. FLEXIT or Sikaflex PRO) around this front internal flange of the letterbox and slip it into place, removing any excess immediately.
Then, hold the letterbox in position while the sealant is drying. We recommend masking tape or a ‘prop’ between the letterbox and the ground. (A broom or mop makes an ideal prop.)
Once installed, apply a bead (very neatly) around the rear edges; this will act as a waterproof seal and an adhesive. Note that the sealant you apply around the rear of the letterbox will be visible. If you haven’t painted your post yet, be sure that the adhesive you use is ‘paintable’. If not, apply it sparingly after painting.
Install a letterbox into the fence panel
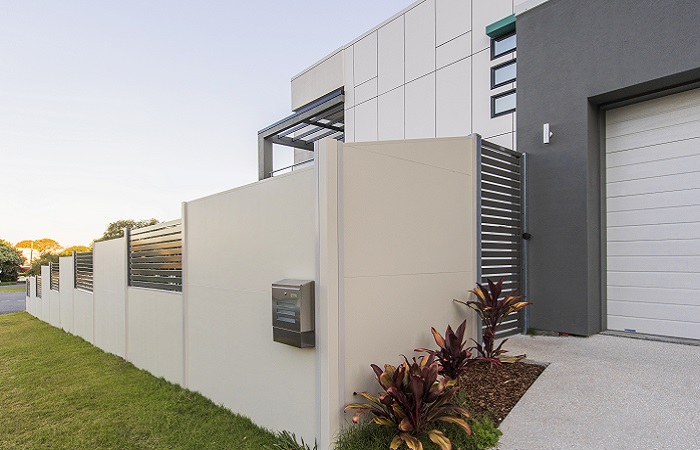
If you’re installing a SlimWall or TrendWall, you can still incorporate a letterbox into the design.
Tools you’ll need to install a letterbox:
- Tape measure
- Builder’s Square
- Pencil
- Masking tape
- Angle grinder with diamond tip blade
- Knife or hack saw blade
- Shim
- Caulking gun with polyurethane sealant (i.e. FLEXIT or Sikaflex PRO)
- Broom/mop (optional: drying prop)
Step 1: Mark out the position on the panel
Mark out the letterbox position on the panel. It is usual for the letterbox to be thicker than the wall panel; it will simply need flashing around or sealing on the back side of the panel.
Step 2: Cutting the panel
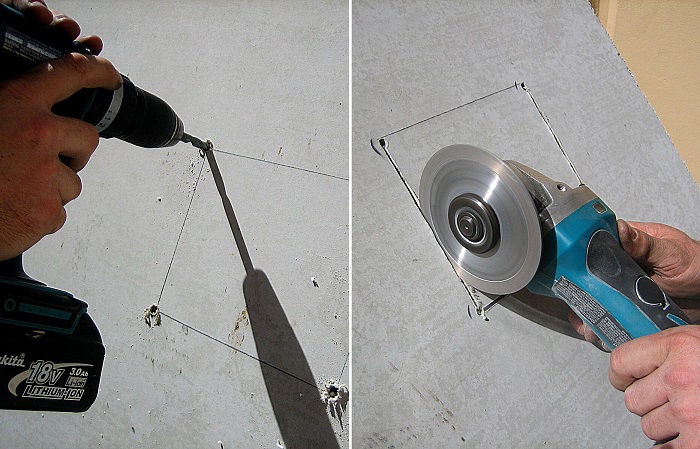
Using a drill, drill through the four corners of the hole, so it goes right through the panel. It should also leave four holes on the uncut side of the panel. These give you a perfect template for cutting the other side of the panel.
Then, using an angle grinder with a diamond tip blade, cut through the fibre cement sheeting on both sides of the panel.
Finally, using a knife or a hack saw blade, cut the panel’s core away and push it out. Test fit the letterbox and adjust the hole size until you are happy with the fit.
Step 3: Securing the letterbox in place
As above, secure the letterbox in place by applying a bead of polyurethane sealant (i.e. FLEXIT or Sikaflex PRO) around the front flange of the letterbox, removing any excess immediately after slipping it into place.
Then ensure the back side of the letterbox is level. Next, seal around the outside (between the letterbox and the panel).
Using a prop, allow the sealant to dry. If you are installing a large letterbox, you may need additional support on the back side of the letterbox.
Download & print our Letterbox Installation Guide
If you’d like instructions on hand when installing a letterbox, download our Letterbox Installation Guide here.
