Thinking about completing a DIY ModularWalls installation?
With ModularWalls’ DIY fencing, it’s possible to transform your outdoors in a single weekend. Plus, lots of customers share that not only did they save a bundle on labour costs, but the DIY installation process was very satisfying.
Kate Sparks completed a DIY ModularWalls installation, and recalls “It was a fantastic experience, to be honest! I’m really proud of my hubby and I, and what we’ve achieved together!”
Keep reading to discover how to make your DIY fencing experience as smooth as possible.

1. Council regulations
First, check with your local Council to check if there’s any restrictions that may apply to your fencing or boundary wall project. Typically, each Council will have regulations regarding wall heights and materials. It’s always best to err on the side of caution with building and construction, so give your local Council a call before proceeding.
Here are some directories to help you find the contact details for your local government office:

2. Measure
If you were to ring a tailor and ask him to create the perfect garment for you, they’d have the same question we do – what are your measurements?
To create the ideal solution for your space, we’ll need to know things like:
- the location of your home (so we can check wind region and proximity to the coast),
- the purpose of your wall – what are you trying to achieve?
- the measurements of your desired wall
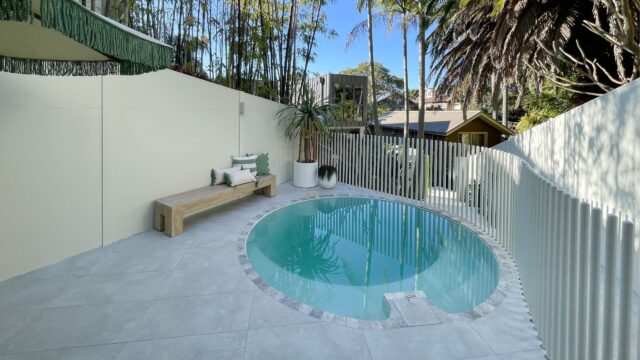
- whether your new fence or wall will be located near a pool or open water source
- and whether your property has a slope.
If you need extra guidance, check out our handy guide to measuring your site!

3. Get in touch
Simply request a quote or call our friendly Sales team on 1300 556 957.
We’ll discuss:
- your measurements – a sketch of what you’re after is super helpful.
- any existing wall or fencing structures
- ground conditions: is it soil, concrete or rock?
- environmental factors: is your home in a bush-fire prone zone, or in a high wind region
- retaining requirements: will any section of the wall need to retain soil?
- Delivery: will you require home delivery or prefer to collect from a depot or warehouse near you?
Once we’ve discussed this with you, we’ll be able to prepare an itemised quote for your DIY wall or fence!

4. Review your documents
Take a while to sit and take a good look at the documents we’ve provided to ensure that we’re all on the same page. At this stage, we also recommend reviewing the Installation Guide for your desired wall style so you’ve got a broad understanding of each aspect of the DIY process.
If you’re not sure about any aspect of the quote or the Installation Guide, feel free to call us and discuss further. We’re here to help ensure you feel ready to embark on your DIY adventure!
When you’ve made the exciting decision to go ahead, simply accept your quote and we’ll be in touch with next steps.

5. Payment and delivery
Once you’ve accepted your DIY quote, it’s time to make payment to secure your solution.
Following payment, we’ll get in touch to confirm order and delivery details – then it’s time to take the next step! Typically, the lead time from payment to dispatch is 5 business days (however, this is subject to a few factors like location, public holidays and custom orders).

6. Installation
Slip on those work boots – it’s time to install your new wall!
Read through the DIY installation guide to familiarise yourself with the steps, and have a browse through our installation how-to videos. On the day of installation, keep your installation guides handy and lay out all your tools and materials, so you have everything at hand when needed.
If you have a question, give our friendly team a call on 1300 556 957 for technical support!

7. Finish your wall
To comply with our warranty conditions, ensure you finish your wall within 30 days of installation. However, best practise is to finish your wall as soon as possible, to ensure the longest possible design life for your panels.
There is a huge range of options to finish your new walls, including painting, texture painting, texture renders, tiling and even stone veneers.
Ensure you use exterior grade materials and, if tiling or using stone veneer, follow the label instructions on the adhesive you’re using.

8. Share!
We love receiving photos of finished projects, especially from our DIY customers.
Take some snaps of your beautiful, finished DIY fencing project and please send them through once it’s completed!

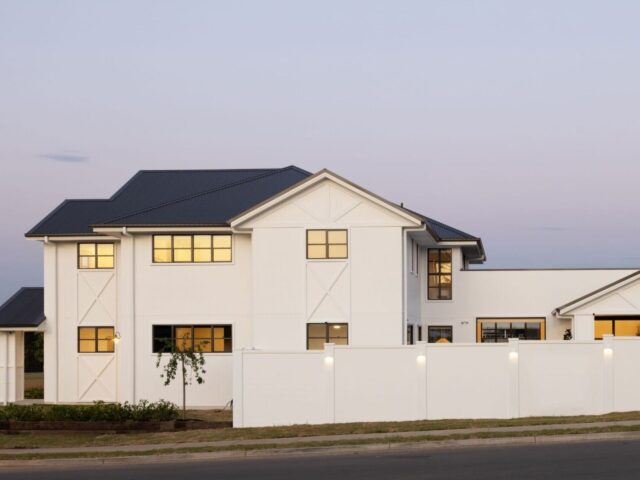
DIY your way to a new outdoor space
With ModularWalls’ revolutionary DIY fencing, you can enjoy fast, easy installation and a premium finish. Whether you seek boundary fences, front walls, pool walls or retaining walls, our range of solutions mean you can enjoy both quality AND style.
With straightforward installation and expert technical support, join over 30,000 happy customers and experience DIY fencing with ModularWalls for yourself.